
Quick device onboarding
This guide covers two main scenarios:
- managed device: a router or edge device connects using a one-time token;
- static client: a laptop, phone, or workstation gets a WireGuard profile.
Before connecting, make sure the right organization and network are selected.
Before you start
Check that:
- you're logged in to the Qarvix dashboard;
- the correct organization is selected;
- a WireGuard network has been created, e.g.
home-net; - for a managed device, the model is on the list of supported hardware and you have access to the router the agent will be installed on;
- for a static client, you know the username or device name and the target platform.
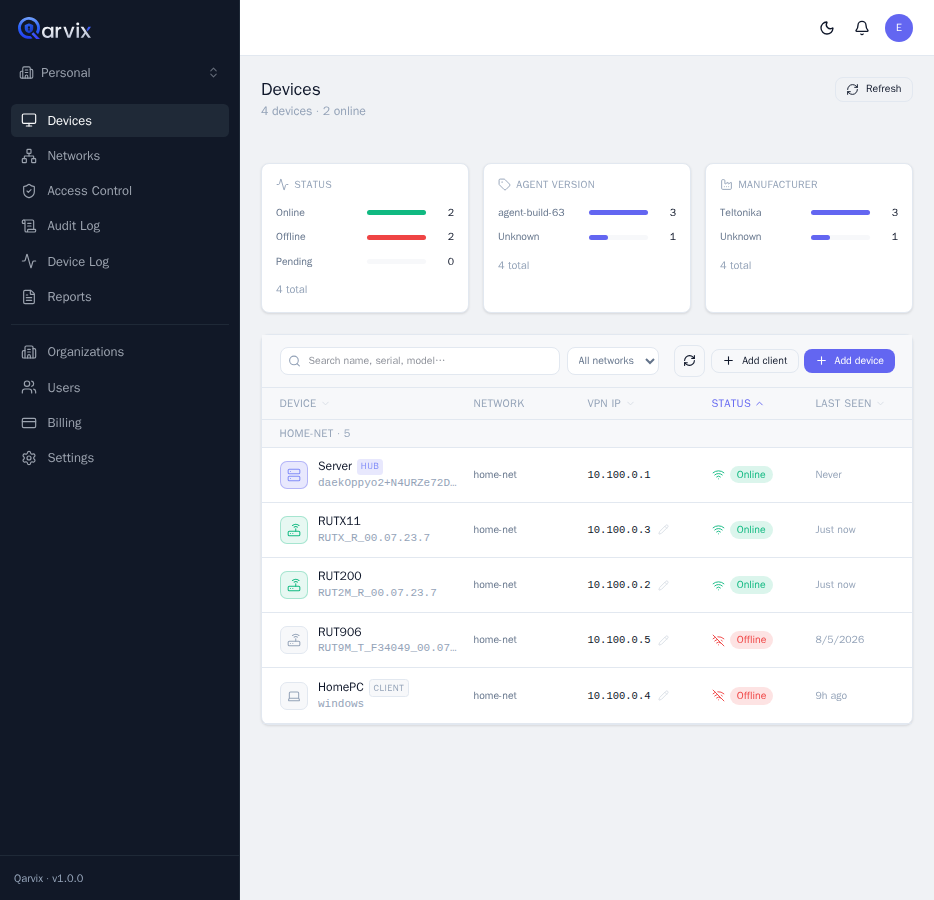
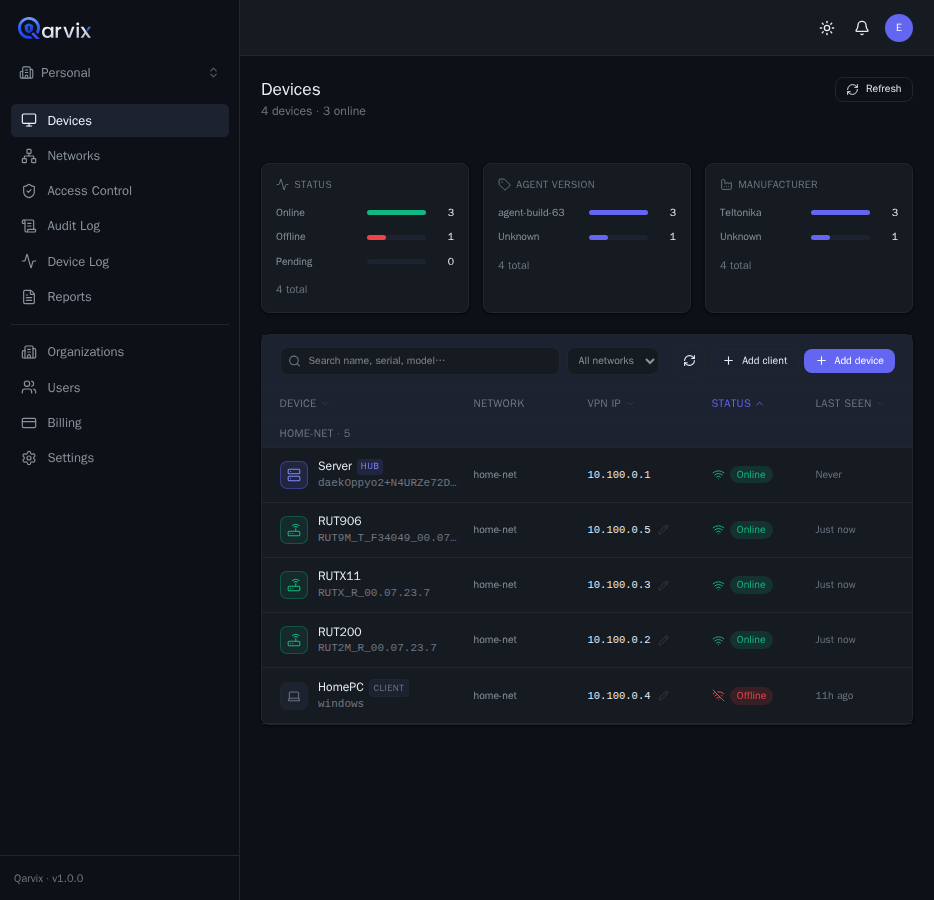
Starting point: the Devices section.
Scenario 1: managed device via token
Use this path for routers and devices that should be managed by the Qarvix agent.
1. Open the devices section
Click Devices in the left menu. The page shows device status, VPN IP, network membership, firmware, model, manufacturer, and agent version.
2. Click "Add device"
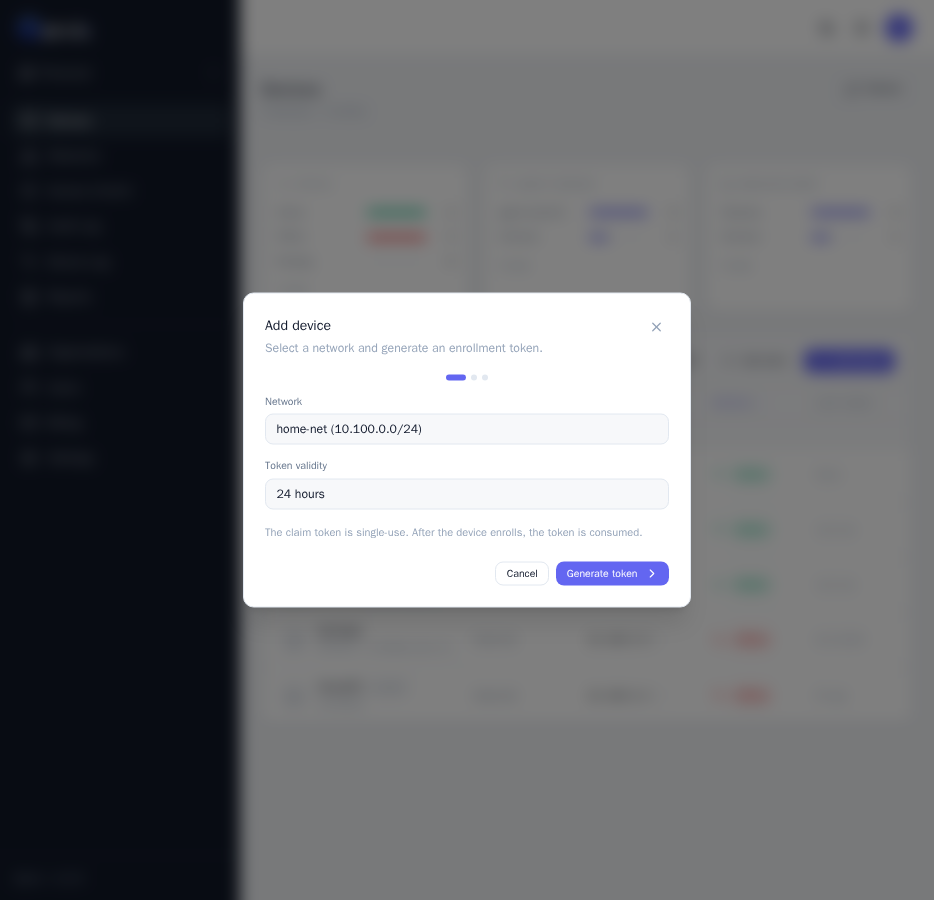
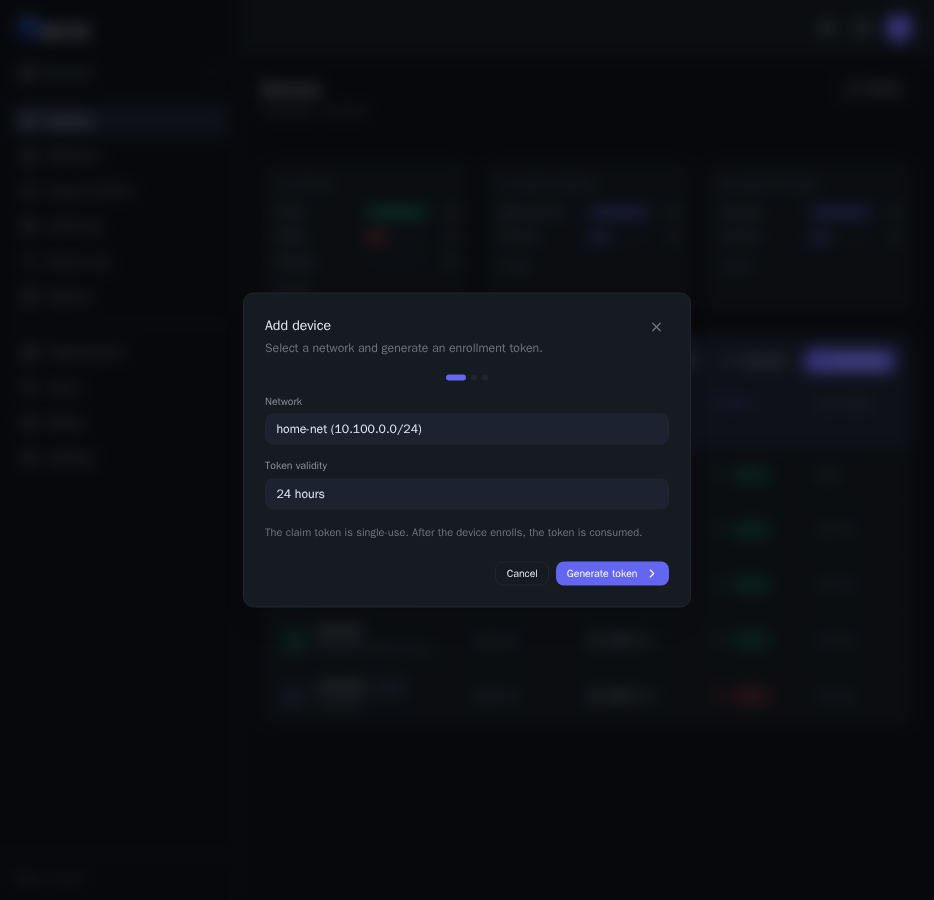
Open the add-device form.
3. Select a network
In the Network field, select the network the device should join.
Example: home-net (10.100.0.0/24).
4. Choose the token expiry
In the Token expiry field, choose how long the connection token should live:
1 hour- the connection happens right now;8 hours- connecting sometime during the workday;24 hours- a general-purpose default;7 days- for remote work, if the engineer will connect the device later.
For production environments, use the shortest expiry that's actually needed for the job.
5. Generate a token
Click Generate token.
Important:
- the token is single-use;
- once the device connects, the token is considered used;
- don't post the token in shared chats;
- hand the token only to the engineer or user connecting that specific device.
6. Run the connection on the device
Once generated, Qarvix immediately shows not the raw token, but a ready-to-run command:
curl -fsSLk https://wss.qarvix.kz/install.sh | sh -s -- <compound-token>The command downloads an install script that detects the router's model and architecture on its own, asks the server which agent build fits, downloads and verifies it, installs it as a procd service, and hands the token to the agent for registration - nothing needs to be configured by hand. The script is the same for every supported Teltonika model, so there's no need for a separate page of commands per model.
The last argument isn't just a secret - it's a compound token: the address of the controller the agent should connect to is embedded base64-encoded at the start, followed by a dot, then a one-time secret. The install script doesn't touch this address and passes the token through as-is - the agent decodes and applies it during registration. Because of this, the address the script is downloaded from and the address the agent ultimately connects to can be different.
The engineer only needs this one full command - the organization and network are already baked into the token, so there's no need to communicate them separately. There are two ways to hand it over:
- copy the command with the
Copybutton and send it to the engineer; - show the QR code - it encodes the entire command, not just the token, and can be scanned straight off the screen with a phone so nobody has to retype it manually on site.
While the window is open, it's live: a Listening… status means the server is waiting for the connection, and as soon as the device shows up, the window shows registration progress on its own and moves forward - there's no need to manually refresh the device list.
The command contains a one-time secret: don't forward it to shared chats and don't leave it in the history of a public terminal - only on the router itself.
7. Check the result
Go back to Devices and refresh the list.
Check:
- the
Onlinestatus; - the device is in the right network;
- the VPN IP was issued from the correct CIDR;
- the
Last seenfield is updating; - manufacturer, model, and firmware were detected correctly;
- the agent version is displayed.
Scenario 2: static WireGuard client
Use this path for laptops, phones, and workstations that need VPN access without a managed agent.
1. Open the devices section
Click Devices in the left menu.
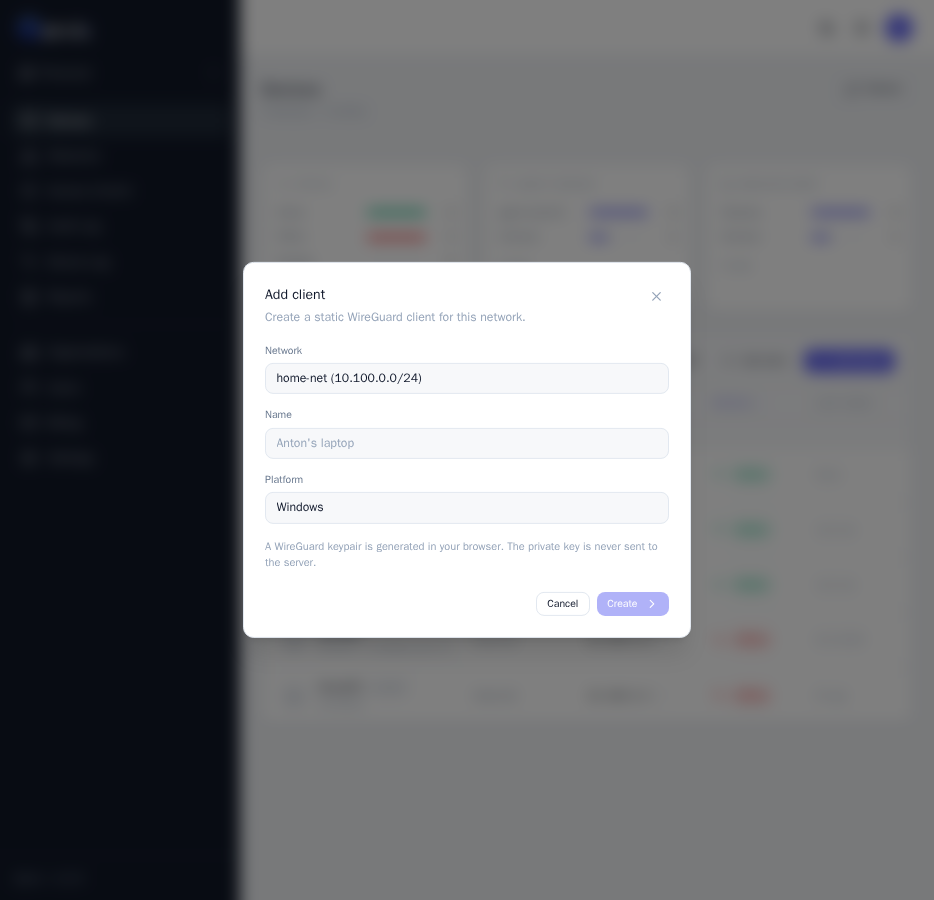
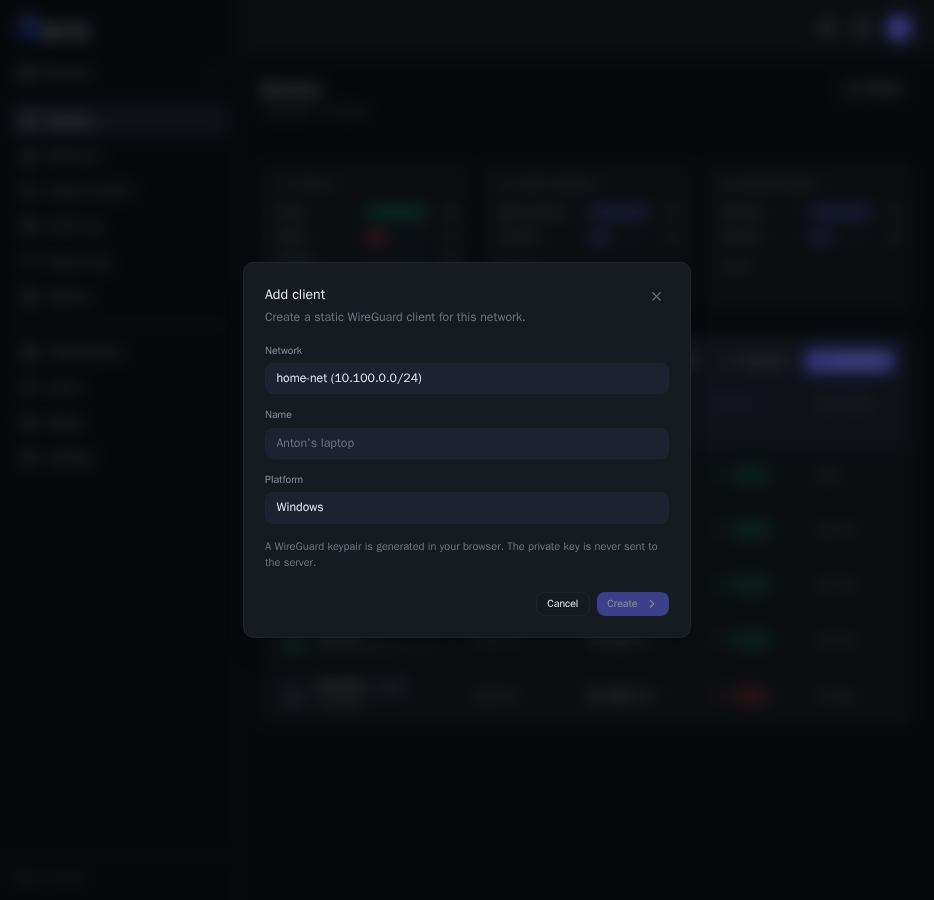
2. Click "Add client"
Open the add-static-client form.
3. Select a network
In the Network field, select the network to connect the client to.
Example: home-net (10.100.0.0/24).
4. Name the client
Use clear names:
Anton's laptop;Office admin PC;Support engineer's phone;Field engineer's macOS.
5. Choose the platform
Available options:
- Windows;
- macOS;
- Linux;
- Android;
- iOS.
6. Create the client
Click Create.
A security detail: the WireGuard key pair is generated in the browser, and the private key is never sent to the server.
Once created, a screen opens with the finished profile: you can copy the configuration, download it as a file, or scan a QR code in the WireGuard app, and connection commands are shown for the selected platform. This is the last time the private key is visible - the interface explicitly warns you to save the file right away.
Checks after connecting
Devices
Check:
- name;
- network;
- VPN IP;
- status;
- last time seen online;
- firmware and agent version, if applicable.
Network detail page
Open Networks, then the network you need.
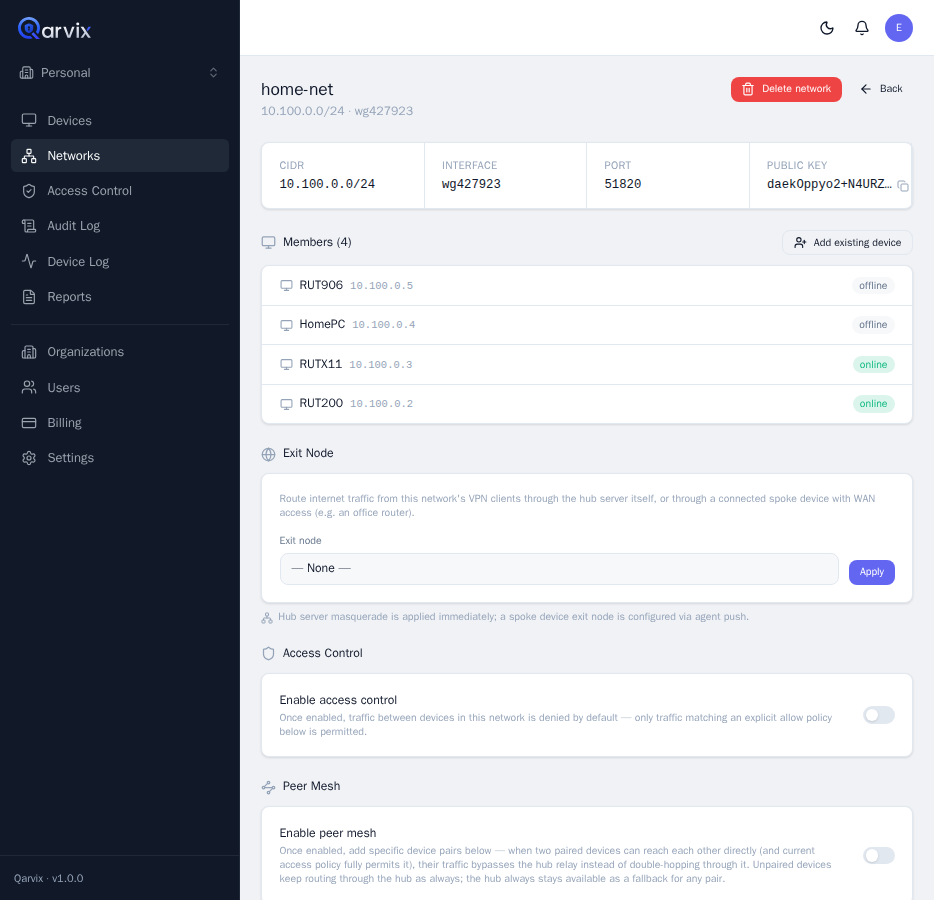
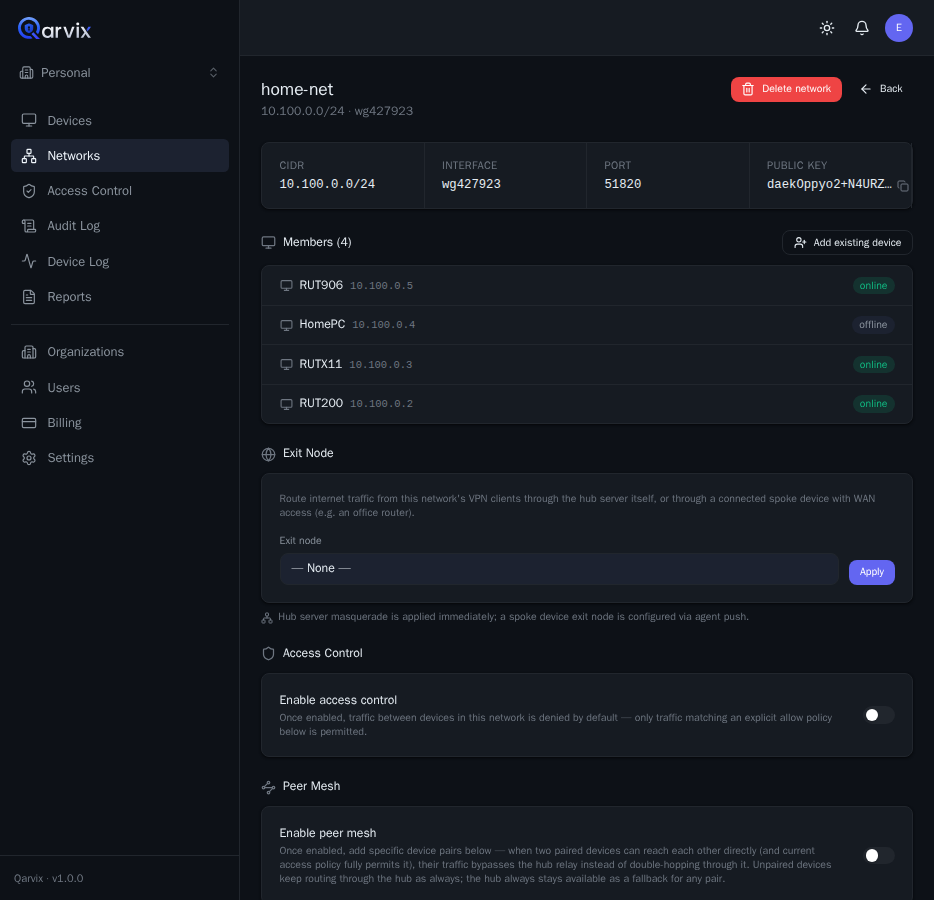
Check that the device shows up under Members, that the VPN IP matches the expected range, and that Exit Node, Access Control, or Peer Mesh are configured for the traffic you need.
Device log
Open Device Log.
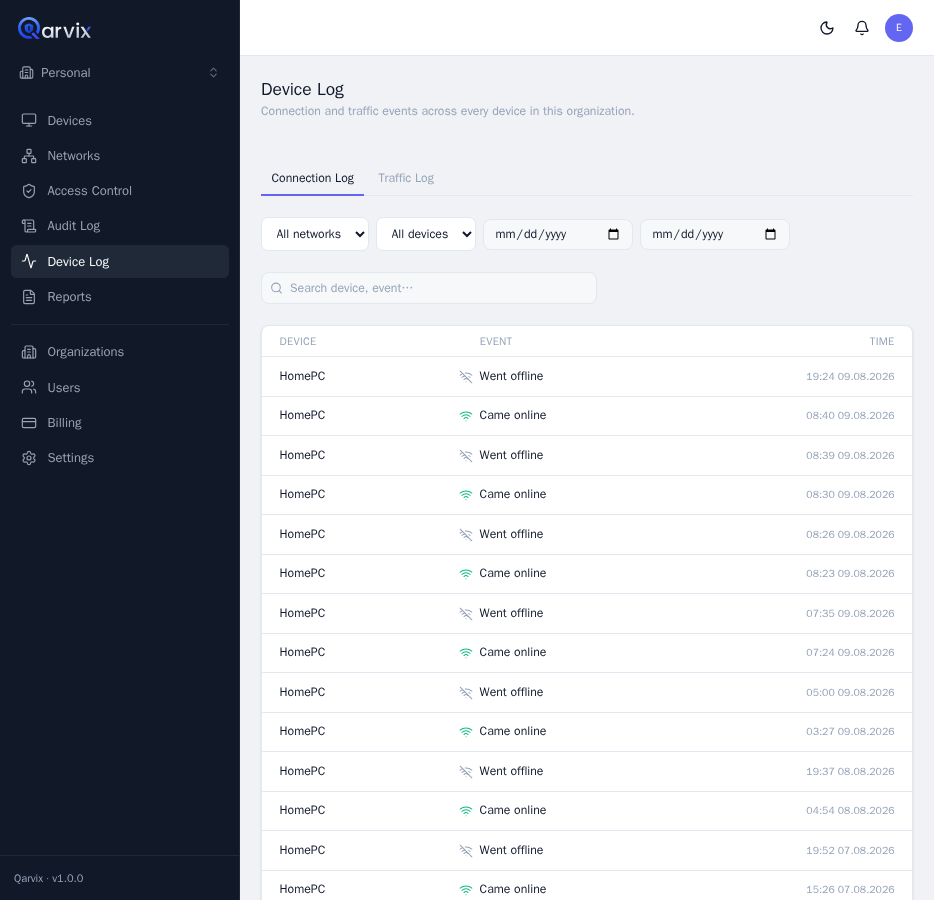
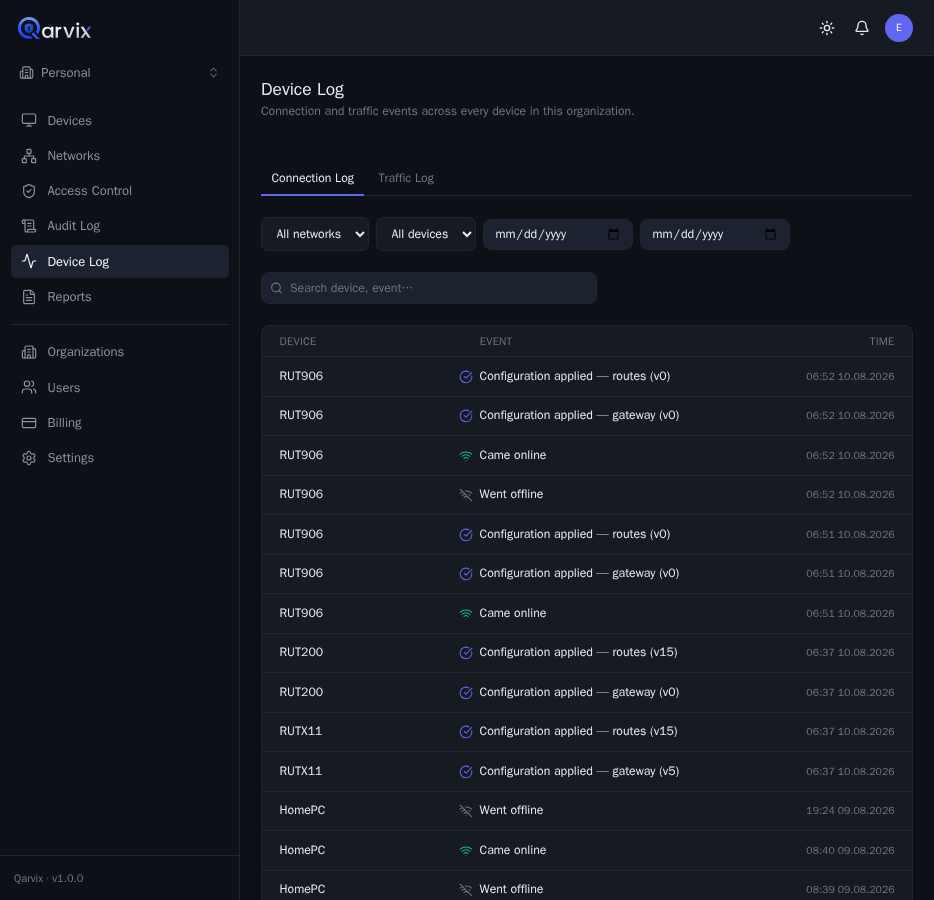
Check for these events:
Came online;Configuration applied;agent_update_result;- Teltonika API events, if a Teltonika device is connecting.
Common issues
Token has expired
Generate a new token with a suitable expiry.
Token already used
Connection tokens are single-use. If the device didn't show up under Devices, check the Audit Log and Device Log, then create a new token.
Device shows up but stays Offline
Check the device's access to the control plane, whether the agent is running, the WSS/TLS connection, the WireGuard UDP port, and a possible conflict between the VPN subnet and the local network.
Device is Online, but traffic isn't passing
Check the VPN IP, its membership in the right network, enabled ACLs, allow rules, exit node, subnet route, and peer mesh settings.